Friday, June 25, 2010

1500grit


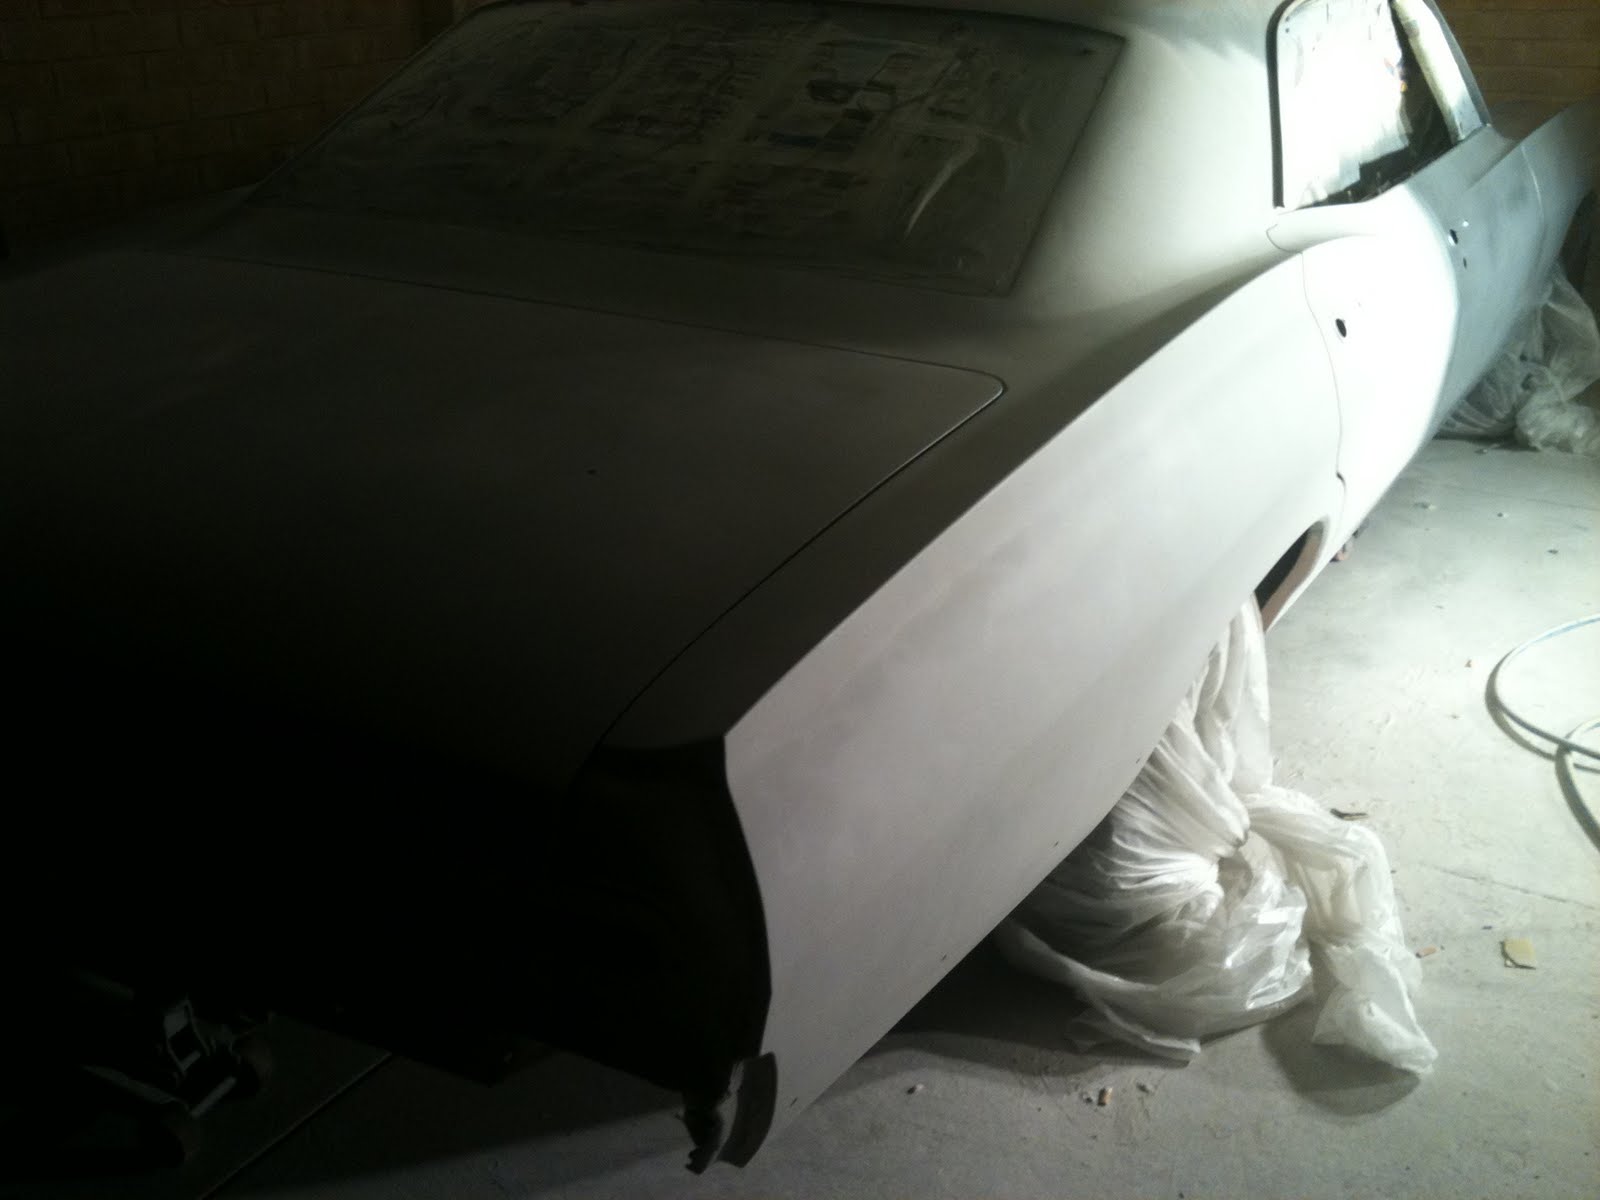
allright just coz craig asked so nicely, here's a pic of me in the middle of the very first stage of color sanding (1500 grit) when the whole cars done (25-30hours of sanding) then i'll have to go over

the whole thing with 2000 grit - yay. then its cut and polish and then finishing glaze.

Still got those few bits to paint probably get them painted in a week or so when the temperature gets up [how fucking cold is it lately!]

Friday, June 18, 2010

she's black!

okay well she's painted ( all except the bonnet / grill behind it, the rear corners and front trim which is all small fidly stuff to be done tuesday / wednesday next week).


paints still wet in the pic. its been a long day. looks good nice and straight, much much better then it has looked over the last 4 months.


anyway picture.

Sunday, June 13, 2010

well...

Well i didnt get her painted this weekend after almost 2 weeks of 16 hour days on it the bodywork has moved a long at an accelerated rate. Anyway i put another coat on her today of primer with a guide coat so i can sand it down (wetsand 400grit) and that will give me my base for colour / clear.

Anyway it WILL be painted next weekend assuming the weather is on our side.


I took some snaps of it sitting out the front yard starting to take shape now. finally. i thought the rust was bad... the dents were worse.

Monday, June 7, 2010

t minus 1 week and counting. (heres hoping)

Okay well been doing insanely long days to HOPEFULLY paint this thing next weekend. at the moment it could still go either way. I have a long weekend (fri/sat/sun) so lets hope thats enough and come sunday night she's sitting in paint ready to begin the next phase ... polishing... then i can smash the trim back on and get rid of it!!!.

anyway, too tired to type so here's a few pictures i snapped on the iphone just as i was coming in to get ready for work tomorow (9pm)


Saturday, May 22, 2010

ok left side finished. boorah.

well the worst side of the car is finished sitting in primer and guide coat.

i'll throw some extra pictures up from throughout the process at various stages when i had enough arm strength to lift the camera after all the sanding...

Craigs coming over tomorow to drop off some of the side trim (hopefully its the left side trim because i want to confirm the fitiment with the holes before i paint the car.) and check out the bodywork on the left side.

enjoy the pics sorry for the long delay between updates. if this car wasnt so freiking huge and going to be black id probably have all the bodywork done by now


Saturday, May 8, 2010

ok some pics of the bodywork as an example.

Okay well its been a while since an update but i've been flat out trying to blend the bodylines on this thing *which are really bad* the door gaps are all screwy on the left side because its had a huge hit in the front and the rear, some drama's here i need to talk to craig about.

Alot of work been put into the rear of the passengers side fender but its not quite ready for spray putty and guide coat (which will allow me to block down the panels before i put on the heavy primer coats and therefore minimise product thickness on the metal which will give it the sharp lines it should have not the dull shape it had when i got it with 4+ coats of paint on the metal. Here are some pictures just to give anyone following this an idea of what i've been doing recently... its slow going but its all in the prep... rushing at this stage would just ruin the finished job.

Im actually doing more hours per week then i would have been doing when i was doing rust repairs as i enjoy this part of the process, everything that happens now shapes the finished job.

images are back to front i uploaded them in the wrong order :S


The passenger doors coated with spray putty (2k polyester spray putty) and a guide coat (acrylic matt black) put on top of it to allow me to block sand and find any area's that need a touch up before the heavy coats of primer go on and it sits for 2 weeks (probably longer considering i'll have to do the other side once i finish this side.


just a picture showing the body lines as it stands at this early stage


Another pic showing the body lines


And yet another picture


And yet ANOTHER! picture


what it looks like before the spray putty goes on. you can get an idea of the amount of work in shaping the body at this early stage to give the finished product.


Monday, April 26, 2010

piecing it back together.

Okay long weekend, assistants birthday this weekend so didnt get as much time as I would like to do stuff on the Impala though i garuntee you it was more time then she liked. lol.

Anyway, The body lines on all the doors etc was way out now the panels have been stripped back, so a lottt of time was spent adjusting how the doors sit and where they latch to make all the body panels line up properly.

Also the inside of all the repairs in the doors and also sealed arround all of the edges of the doors.

Anyway 100% of the rust repairs are finished ( OH my god finally)
about 75% of sealing is finished (still have front passenger door and the inside of the bonnet to go.

Tomorow evening will throw on the front passengers door, front fenders and the bonnet and then we're 100% finished rust and sealing and FINALLY begining bodywork.

pics.


A look down the drivers side with the two doors on and lined up.


A look of the same thing, from the front.


The passengers side with the rear door on


The front door's rust repairs finished.


The front door in etch primer.


rear bonnet panel sitting in place, I need to get some new self tapping bolts for it (hopefully stainless) to hold it in place. I had to make up a aluminium cup to hold the passengers side squirter as previously it was just siliconed into position (like many other things).


A shot of the body lines of the rear of the car after lining up the boot panel


With the lights put on


An example of the sealing on the outside of the doors (see black edge) this should help prevent any future rush in the doors.